The Building Of Lurch Part 1
With the decision that I was going to start racing, came the decision that I was going to need a race bike. I had my eye on one of those Chinese carbon frames but I had been worrying for a while about the pain in the arse I might have if anything went wrong it. As if they had been listening to my thoughts On One put their Lurcher frame on 50% sale. A £500 frame for £250 was to good an opportunity to pass up, so I ordered one. This made the cost of the frame about the same as it was going to be to buy and ship from China. The Lurcher is not quite as light weight but the geometry is actually spot on what I was looking for rather than the slight compromise I had been willing to make. Ideally I was looking fro something with the same size top tube as my P7. Most XC race bikes will be quite stretched out but as this is for endurance racing I wanted it to be more up right to stay comfortable for longer periods. I have done 10+ hour rides on the P7 and find the reach length ideal, so I was happy when checking the geometry to see that the Lurcher is actually within 2mm of the same effective top tube length.
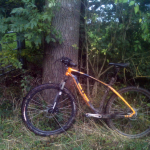
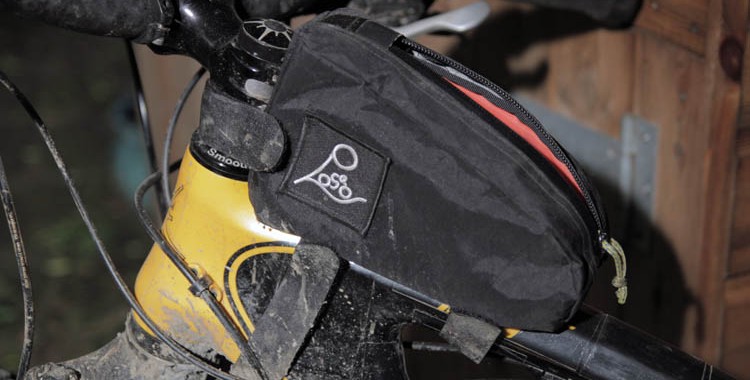
It was months ago now that I bought the frame and its been sat in a big cardboard box looking at me every time I sat down at the computer. Well finally I have got around to taking some pictures and getting on with writing about this new build. As you can see the frame looks pretty spanky. The colour is more orange and less yellow that these photos suggest which is certainly a good thing. The rest of the components are pretty much going to be all black. I’m hoping this is going to look quite classy and not flash. also it leaves my options open in the future if I decide to upgrade the frame to something of a different colour.


This frame represents a number of departures from what I’m used to. In fact almost every detail about this frame is something new for me.
- It’s a carbon frame. I have only ever had alu or steel framed bikes be it the mountain bikes I ride now or the road bikes I had when I was young.
- Although I have ridden the wagon wheels before I have never owned a 29er.
- This frame uses a Pressfit BB92 bottom bracket which is totally outside of my experience. I have read a lot of mixed reports but there again you will about Shimano HT2 bottom brackets which have always lasted very well for me.
- The head tube is a tapered which is again different to my other bikes which are all 1 1/8″. The only issue this might cause me is if I want to use the ridgid 29er fork I already have as it’s a straight steerer. I could get a reducer headset but that’s a substantial extra pain in the arse to have to swap out the lower headset cup to just swap a fork over.
Since getting the frame I have picked up a few bits in sales but I’m not really that far into the build yet. I’m aiming to spend the next few months putting that right and getting on with it.


Afternoon fella,
Nice looking project!
I recently had to fit a straight 1 1/8th” steerer into a frame with a tapered headtube and went for a mix/match Hope headset which has a simple adaptor and so would substantially reduce the amount of ‘faff’ if/when changing forks.
Worth a look (and Hope headsets last forever!).
Keep up the good work.
Gairy.
Does that mean you still have to change the bottom cup if you wanted to swap forks or is the “simple adapter” something that just slides in and out of the cup?
Exactly, it just slides right on top of the steerer (over the normal headset brace if i remember rightly) and so is easy to change without any tools (at least that’s how my set-up works – there are so many steerer/headset variables now that it’s bloody confusing!).
Good luck with that minefield!
Ahhh OK, I’ll take a look at it cheers Gairy. 🙂